

leaf mould Tag

October brings beautiful crisp blue skies framed by fiery coloured falling autumn leaves – the perfect backdrop for mid-autumn garden maintenance. The last of the cool sunny days are the ideal time to harvest your remaining crops and prepare your greenhouse for the colder months. As November arrives with windier and wetter weather, protecting your garden against the elements becomes the priority. This article is divided into several sections:       General garden maintenance jobs       Protecting and planting flowers       Harvesting, growing and storing autumn vegetables       Preparing berries and fruit trees for cooler months       Reflecting and forward-planning   Use the entire piece as your autumn garden companion or jump to the areas most relevant to you.   Garden Maintenance Jobs for October and November Give Your Greenhouse an Autumn Clean Greenhouses provide the perfect refuge for your more tender plants over winter, but it’s crucial to keep the area pest and fungi-free. With summer’s bounty well behind us, your greenhouse will probably have ample space come October. Make the most of the extra room to give your greenhouse a thorough clean. A horticultural disinfectant that is antibacterial, antifungal and antiviral will help clear your greenhouse of any unwanted pest that may cause problems in future crops. A deep clean will also clear the glass of any grime and let more light in – essential over the darker winter months. For the same reason, take down any shading that you currently have in place. When you begin to move plants inside, make sure not to undo all your hard work. Check your plants for pests such as aphids and remove any dead or decaying matter. Try to organise them with ample space and good ventilation. You can protect your plants further by insulating your greenhouse with bubble wrap inside the frame. Again, make sure to keep the space well-ventilated. As the clocks go back and the dark nights set in, install solar lights in your greenhouse so you can continue working. The sun doesn’t need to dictate the time you spend outside: some warm clothing and a decent light can help you get your daily dose of fresh air. Protect Your Plants from Frost Plants that won’t withstand winter frosts unprotected should either be brought into the greenhouse or covered with a fleece or cloche. Protect cauliflowers that are producing florets over the winter by pulling their leaves over the top of them and tying the leaves in place with string. A cloche will similarly protect them from frost. Outdoor containers should be moved into more sheltered areas and bubble wrapped to insulate against the cold. It’s also worth raising the containers onto pot feet to prevent them becoming waterlogged during the wetter months. Make Your Own Leaf Mould All of those falling autumn leaves create the ideal hiding place for pesky slugs and snails. Clean up your garden and make the most of this plentiful resource by creating your own leaf mould. It’s a straight-forward process that can require little more than a few bin liners. Leaf mould is your very own homegrown compost - it’s free! It’s packed with nutrients that your ordinary kitchen-scraps compost lacks and you can use it as a soil conditioner all year round. Prevent Soil Compacting With wetter weather, it is easy for your soil to become compacted as you gather the last of the season’s crop and bring things in to shelter. To avoid this, place planks down on your main access routes to spread out the impact, offering some protection from your footsteps. Tie Down Delicate Flowers and Plant Out Hardy Winter Varieties Once they have finished flowering, delicate climbing roses should be tied in to protect them from strong autumn winds. Whilst you’re tying them, clear away any fallen leaves that may harbour black spot. This fungus can stick around over winter and reappear in your spring blooms, so it’s best not to compost it. A few hardier blooms can be sown even at this time of year. Sweet peas can be planted in a cold frame or your greenhouse for early spring flowers. Perennials including foxglove and lupin can also be started off in the greenhouse in November. Spring bulbs can be planted directly outdoors right through October and November. Daffodils, tulips and alliums can all be started now to create a wonderful spring display.  Wildflower seeds will similarly be ready by spring and encourage bees and butterflies. Autumn Vegetables to Harvest Beans and Peas The last of your beans and peas will need harvesting now. As these plants release nitrogen into the soil, clearing the area couldn’t be easier. Simply cut the stem back and leave the roots to completely break down. Avoid planting them in the same spot over consecutive seasons. Instead, make the most of this area for nitrogen-loving plants such as green leafy vegetables and rhubarb. Pick a new spot for next years’ peas and beans. You can prepare this now by digging trenches and filling them with nutrient-rich kitchen waste and manure. Squash and Pumpkins With Halloween fast approaching, harvest your pumpkins before the first frosts hit. If left outside, pumpkins and squashes can become mushy - hardly ideal for carving! Parsnips Unlike pumpkins, parsnips do well in the frost as the colder weather creates a sweeter flavour. Harvest them towards the end of November and you’ll be rewarded for waiting.   Autumn Vegetables to Grow While it may be time to harvest the majority of what’s left in your garden, there are still a few vegetables that will continue growing in October and November. Cabbages When you harvest the last of your cabbages, cut them off at the root and make a shallow cut in the stem. This will encourage the last flush of smaller leaves to grow. You can also now plant out your spring cabbages. Hardy Leafy Greens Leafy greens will continue to grow right through autumn and winter. Winter lettuces such as corn salad (lamb’s lettuce) can be grown and harvested all over autumn and winter. Ripening and Storing Vegetables Indoors You may still have green tomatoes and peppers yet to mature. To give them the best chance of ripening, bring them indoors and hang them upside down. It’s common to be left with some green tomatoes even at the end of an excellent growing season. Rather than let them go to waste you can make all sorts of green tomato sauces and chutneys, a perfect addition to your Christmas cheeseboard.   For vegetables that you are already storing, including potatoes, onions and garlic, check for any rotting material. The neck of garlic and onion bulbs is normally the first place to rot. Onion bags and hessian potato sacks will help your crop breathe while in storage. Preparing Berries and Fruit Trees for the Cooler Months Raspberries and Strawberries Most berries require some work before the winter. For your raspberries, cut back this years’ fruited canes to make way for the younger, green canes that you will use next year. Protect these new canes from autumn and winter winds by tying them to fencing or support wires. Clear away any straw from the base of your strawberry plants, this will provide better ventilation in the wet months. As with your raspberries, you also need to cut back old foliage to make room for new growth. Fruit Trees If you have apple trees, your fruit should be ready to harvest now. You can easily check by giving the fruit a gentle pull if it comes away easily, your crop is ready. To avoid caterpillars causing problems in the spring, wrap grease bands around the trunks of the trees. This can be done on any of your fruit trees to stop overwintering pests. Grease bands will trap wingless winter moth females as they attempt to climb the trunk and lay their eggs in the branches. It is these eggs that will grow to become the caterpillars that will cause you trouble later on. Once you have harvested all of your fruit, birds that you previously worked so hard to keep out can now be let in. Remove any netting so that birds can catch any pests that make it past your grease bands. We would also recommend putting out bird feeders and additional bird food. Birds are a gardener’s friend over winter, keeping out unwanted pests. Help them out by providing a little extra food during the sparser months. Reflecting and Forward-Planning  Once your plants are dormant, now is the time to relocate them. When you have decided where your vegetable beds will be, spread fresh manure over the ground. This will rot down over the winter and give your crop a nutrient-rich soil next year.  Now that the flurry of summer activity is most definitely over, the cooler, quieter months are the perfect time for reflection and planning ahead. Between garden maintenance and autumn preparations, take some time to think about what worked and what didn’t this season. Jot down any ideas you have or seeds that you would like to buy ready for next season.    ...
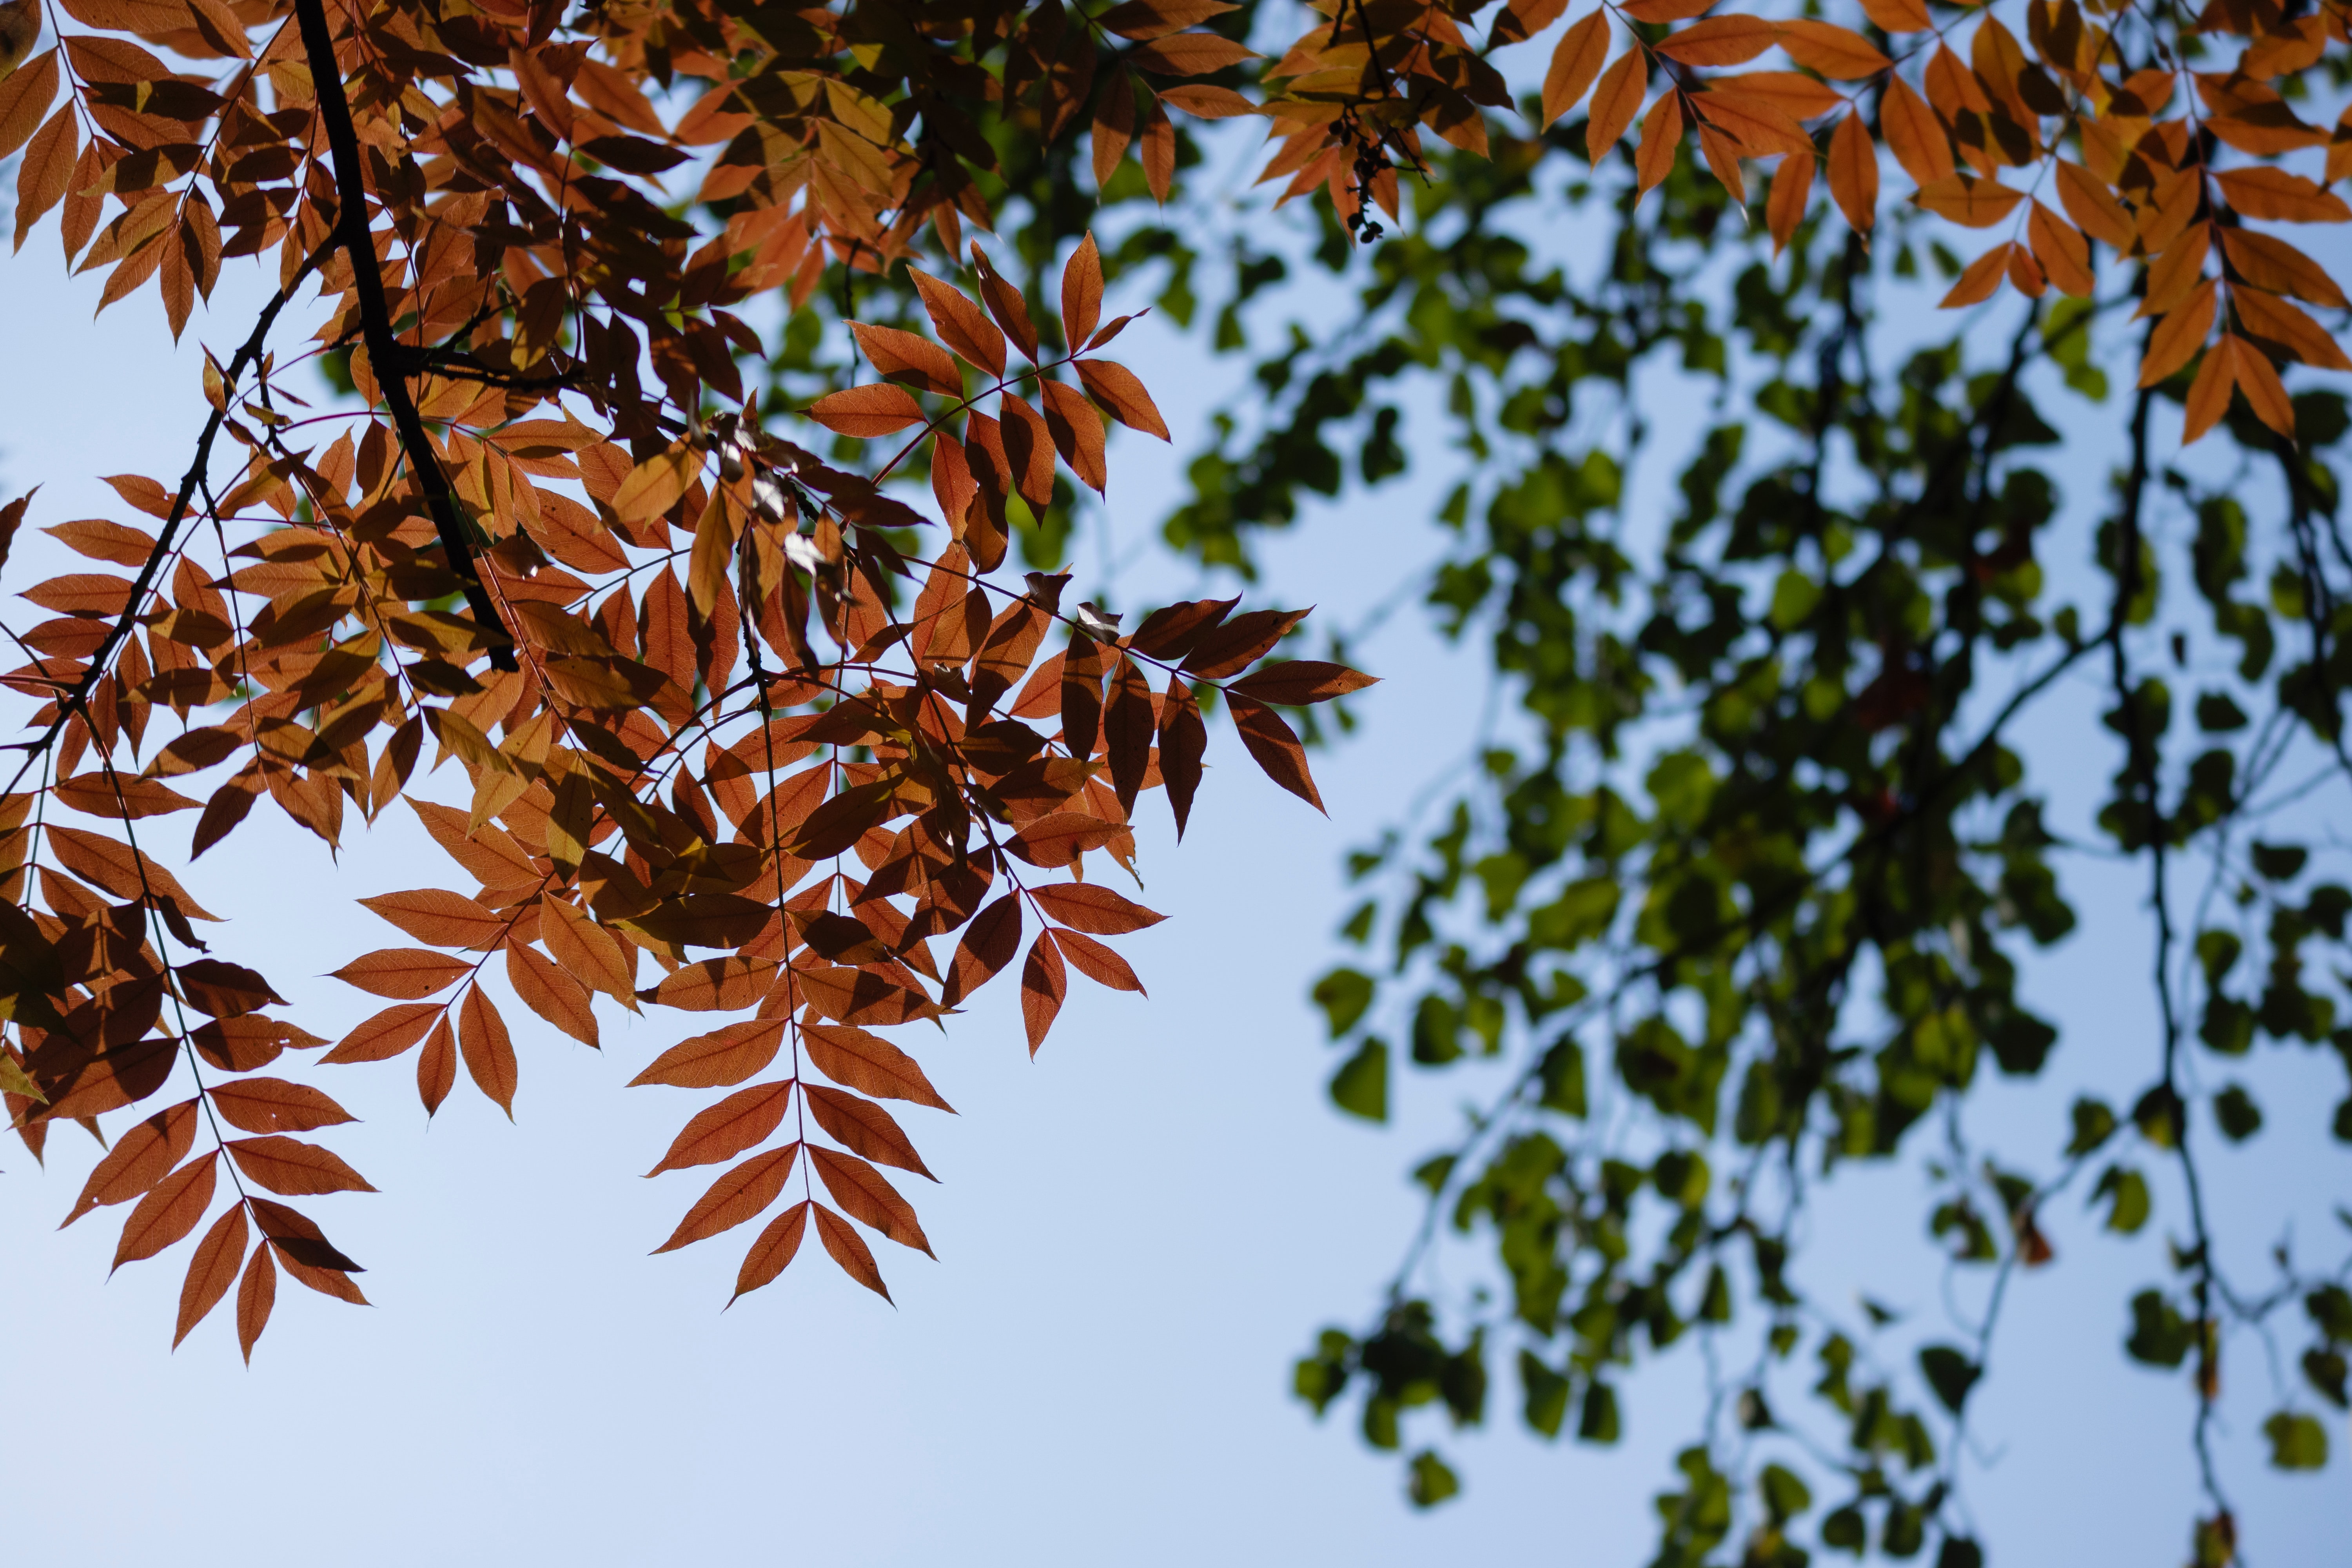
Leafmould is an excellent way to use fallen leaves to add nutrients and structure to your soil. It can be used all year round as a soil conditioner or mulch to support a balance of nutrients in your garden, and is very easy to make. Leafmould is free compost! Even in a small garden or a potted garden, leafmould is worth creating. Well-rotted quality leafmould is very good to use in pots, as it retains water for longer than standard compost. It does take a long time to rot down into fine matter but involves very little work on your part and the results can be rewarding. Good quality compost and fertiliser can be expensive, putting many people off gardening or growing their own vegetables. With leafmould, you are creating your own compost, soil-conditioner fertiliser and mulch all at once! We’ve created this handy guide to help you prepare our favourite homemade garden hero.  What Is Leafmould? Leafmould is an organic mulch made simply from rotted leaves and garden clippings. It is easy to make and particularly good for conditioning dry soil and fertilising raspberry canes or other fruiting plants. Sometimes described as ‘Gardener’s Gold’, leafmould attracts worms, which rise up into the mulch and drag it deep into the soil, thus improving your chances of a high yield at harvest time. It is also good as a starter for new plants when mixed with potting compost. When to make leafmould?  It’s best to start your leafmould in the late autumn, after most leaves have fallen. This gives the leaves plenty of time to break down and decay before use. Leaves are almost entirely carbon, which means they take longer than grass clippings or food waste to rot. The full decaying process can take between six months and two years before the leaves are well rotted.  Because the rotting time is so long, it doesn’t really matter when you start collecting leaves, as long as you recognise that they will flatten down and reduce as they decay, and you may need to keep adding more. If there are still leaves in your garden (as there are in mine) you can start making leaf mould now. Types of leaves for leafmould  You can use any leaves to make leafmould, as they will all eventually break down. That said, some are better than others, as evergreens take forever. By all accounts the best leaves to use for making leafmould are those that are smallest and thinnest, as these tend to rot the quickest. These are oak, ash, beech, hawthorn and hornbeam. Thick leaves like sycamore, chestnut, etc. are best shredded before being added to leafmould, and evergreens such as holly or laurel are best shredded and added to the compost heap. They will break down much more quickly amongst the food-waste than in a leaf pile. You can shred leaves easily by running them over with a lawn mower. Choosing a Leafmould Method What you use to make leafmould depends on what space you have available, and what resources. For larger gardens, you might want to fence off a metre-square next to your compost heap, with chicken-wire secured with posts or with pallets if you have any. Don’t attach the front side, instead allow it to be opened for easy access. For those of us with less space, the humble black bin bag will suffice. How To Make Leafmould  Collect as many leaves as you can, from your garden, park, quiet streets, or the edges of the allotment. It’s best to avoid leaves from next to main roads as they will be contaminated by air pollution and will bring these pollutants into your soil when you use it later. Fill your chosen container with the leaves. If you are using a large outdoor container to collect your leaves, simply rake or throw them in and you can leave them to rot down.  If you’ve opted for bin bags, fill each bag with leaves and add some water for moisture. Cut some slits or holes in the sides of the bag to allow air to move through them.  Leave them alone! Your open container will collect rain and keep the leaves moist. During dry periods, add a watering can full of water to replenish these damp conditions that are so conducive to rotting. Check your bags every month or so to ensure they are still moist. If the leaves feel dry, add some water. You will be able to tell that your leafmould is ready when it has reduced to become a dark brown to black, earth-smelling fertiliser, resembling leafy wet compost. Using Leafmould  You can use your leafmould at any time of the year. If you have left your leafmould for six months to a year and are itching to reap the rewards, you can use it for an excellent mulch or soil-improver. Dig or turn it into beds, or spread it around on top or as mulch around the bases of shrubs, herbs, trees or vegetables and let the worms do the heavy lifting. In autumn, it works as a top dressing for lawns, reviving those luscious green grasses after summer’s heat. In winter, it makes an excellent covering for empty beds to keep the weeds at bay and condition the soil gradually. Because it has excellent water retention, leafmould is also fantastic in pots and containers.  If you’ve got tons, you can leave your leafmould for another year. It will rot down even further into a high quality substance resembling compost that can be used to start seeds in the spring, or make your own free potting compost by mixing with equal parts sand, compost and soil. Possible Leafmould Problems   Litter When collecting leaves from parks and roadsides, be careful of litter that can get mixed in. You should sort carefully through your collection to avoid microplastics contaminating your leafmould. Weeds It is possible for open leaf-heaps to become infested with weeds, as they do not generate the same heat levels a compost heap does. Be careful when you start to use your leafmould. You should be able to pull out any weeds fairly easily as the leafmould will remain loose around the roots, but if it is truly infested don’t use it on beds where weeds would be unacceptable. Tips For Speeding Up Leafmould Before adding your leaves to your pile, shred them by running your lawnmower over them to make smaller pieces. These will rot much more quickly than whole leaves. If your leafmould is taking forever to break down, turn it with a garden fork every month or so to spread the detritus-eating fungi around. When you are using a plastic bag, pick it up and give it a good shake.  If you are using a leaf pile to make leafmould, cover it up with a large plastic tarpaulin or some bin bags to keep it warm and stop it from drying out. Compost vs leafmould?  Why not both? Compost and leafmould are very different substances on a chemical level and contribute to your garden in different ways. Compost, made from grass cuttings, garden waste and food scraps, is high in nutrients such as nitrogen, phosphorus and potassium. Leafmould, while it is fairly low in these famous garden nutrients, contains calcium and magnesium, along with traces of other nutrients. These are also important for plants, particularly shrubs, trees and other woody plants making it an excellent soil conditioner.  In short, compost feeds your plants for high growth levels, while leafmould contributes to the soil structures and water retention of your beds and the overall health of your garden.  Adding a few leaves to your compost heap can be good, as they will add a lot of dry matter. However, if you’re wondering why not to just throw the leaves into the compost and be done with it, you should know that leaves and compost rot in very different ways, with leaves being much slower to break down. Adding a lot of fallen leaves to your compost heap will simply result in leafy compost. The Science Behind Leafmould While compost is broken down by bacteria, resulting in quick decomposition and an awful smell, leafmould relies on fungal decay. It is thus much slower than compost to rot, as the fungi slowly consume the leaves by softening and eating them. This process occurs in cool, damp conditions, rather than the heat of a compost heap, which is why it doesn’t attract as many pests or flies, and why it doesn’t kill the seeds of weeds that get mixed in by accident.  The fascinating thing about leafmould is that it contains a substance called lignin. This is the fibrous part of the leaf which forms its structure, the part which you see in the childhood pleasure of ‘skeleton leaves’, leaves that have almost completely rotted away to be just an outline and some fine threads. Lignin is a complex hydrocarbon which, used in leafmould as a mulch, enables the soil to retain a healthy nutrient balance more easily than soil with a lower concentration of plant matter. Leafmould: Gardener’s Gold Next time the leaves start to fall, get your binbags out and start collecting. With a very little effort on a cold afternoon, not to mention a fun garden activity for children, and you’ll be setting yourself up for excellent soil structures and nutrient balance for the next two years....